Last time we discussed on how to have a subset of data within worksheet that scrolls independently and I called it scrollable data ranges. It was fun as we involved one of the Excel form control i.e. scroll bars.
Today we are taking that a little further and will learn how to create scrollable charts that is one of the great example of interactive charts and common ingredients of Excel dashboard reports. So lets get started.
Following shows what we are after in this tutorial:
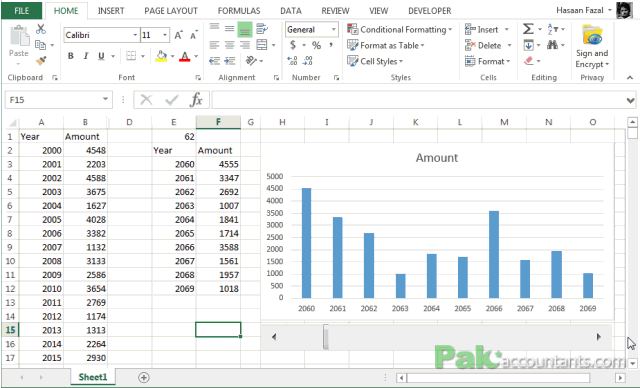
Scrollable Charts using Form Controls
Step 1: First and foremost is to have scrollable data range working. To get that follow all the steps and instructions discussed in the tutorial: Creating Scrollable data ranges in Excel – Excel Form Controls: Scroll Bars
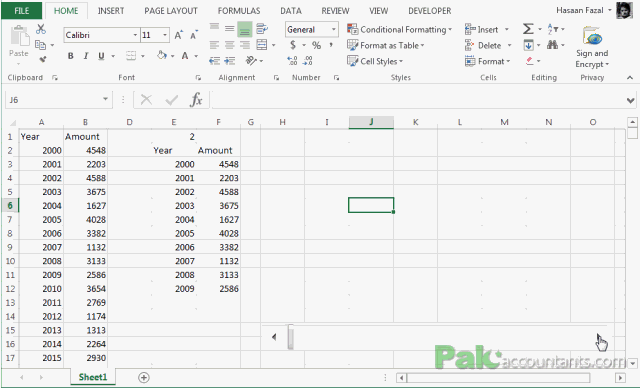
I got the subset the same way as discussed in the article linked. The only difference is that I got the scroll bar horizontally drawn instead of vertical orientation so that it sits nicely under the chart. You will see what I mean in a minute.
Step 2: Once you have working sub set that changes as you scroll, simply select the subset and go to Insert > Chart group > select the chart type you prefer. Excel will insert a chart. Do a little formatting, position and adjustments to both chart and scrollbar. Once done you should get something similar to this:

TADA! So you have just made a cool stuff even cooler 🙂
Let me know in the comments below how you use Excel form controls and what is your favourite form control among all.
how i can get these tutorials? on my email
Incredible chart!!!
I got a question, can I combine this with a VLOOCKUP formula to generate a more diversified chart?
The charts are really awesome!